Common Smartphone Repairs You Can DIY and Needed Tools
Here are a few mobile phone repairs that you can do yourself! These cell
phone repair you shouldn't pay someone to fix. Learn basic smartphone
repairs you can DIY and PHONEFIX Phone Disassembly Tools Needed for DIY Repairs.
Cell Phone won’t charge
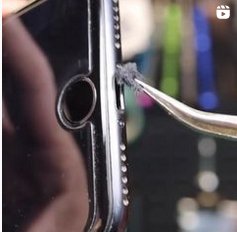
You can use a safety pin and run it around the inside of the port on your phone to clear it out. If your phone isn’t charging, give this a try before buying a new cord. You can also use a flat toothpick to remove anything that’s blocking the pins that connect to the charging cable.
While you’re cleaning your ports, here’s why you should clear cookies from your phone too.
Fuzzy noise from headphone jack
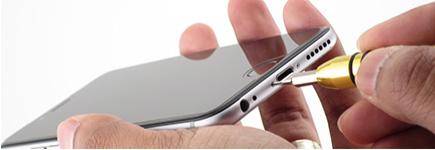
Cleaning out your ports can be done carefully with a few quick blasts of compressed air to the area, or even with a Q-tip (remove some of the cotton if you have to to get it to fit) and use a high alcohol content cleaner to wipe out the area.
Inflexible Power Volume Buttons
Take your time and carefully clean the area. You can use a toothpick or a cotton bud. Carefully take out the dust. Make sure not to push it more inside. If the dirt cannot be removed like this, you can try using a cold air of hair dryer to blow the dust off. That usually does the trick.
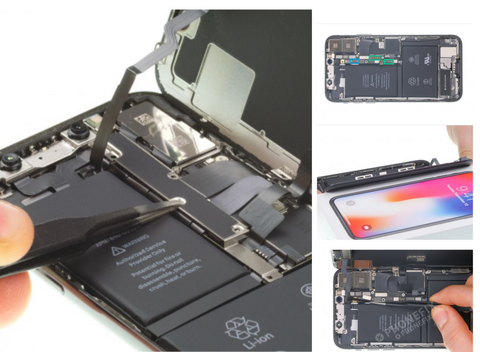
Cell Phone Battery Replacement
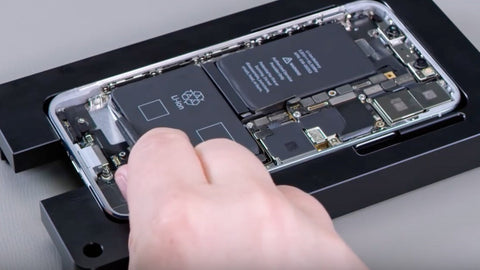
Putting in a new battery is easier in iPhones, however, because they have handy pull tabs on the adhesive that makes battery removal a bit easier, Lloyd says.
There are detailed instructions to replace the battery in a Samsung Galaxy online.
You should be aware, however, that opening your phone will void your warranty. Many phone manufacturers (including Apple) will replace your phone battery for free if it’s still under warranty, and for a small fee even if it’s not. Better check your digital wallet before you try this repair yourself!
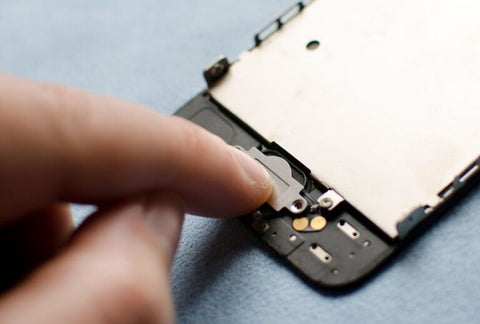
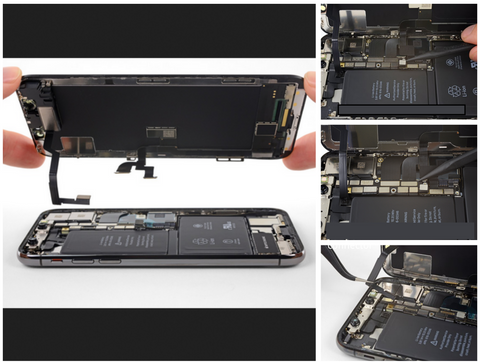
A shattered Phone Display Screen replacement
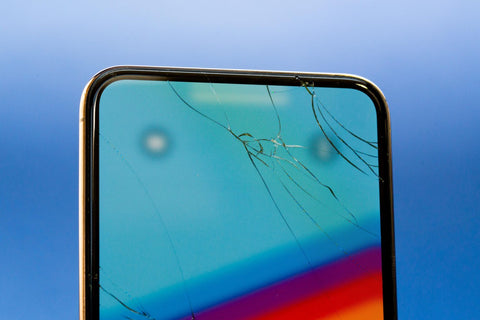
For iPhones, for example, Phonefix team recommends applying some heat to soften the adhesive, keeping the screen on, and using opening picks to slice the adhesive apart in order to carefully pry the screen off.
That said, replacing a cracked screen is more involved on Android devices such as the Samsung Galaxy series. For example, you’ll need to take the back glass panel off first, which adds steps and complexity to the repair.
You’ll probably need to invest in a new case, too. Going beyond screen integrity, it’s worth knowing how to lock any app to help keep your phone safe.
Improve a mediocre lens
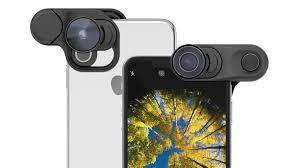
Get that DVD player you don’t use any more and salvage the lens: It’s the little piece that guides the disc-reading laser. Dig out the glue to free the lens. You can either place it over your phone camera and secure it with some putty, or put it on some tape, cut a hole, and simply stick it over the lens.
This will give you such extreme focus that you can even see the cell structure of an onion! Next, learn PHONEFIX Phone Disassembly Tools Needed for DIY Cell Phone Repairs
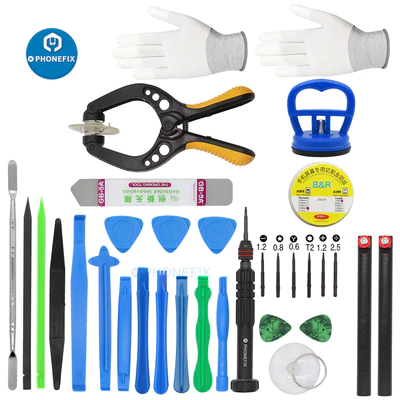
#1 Tweezer/Magnifier
#2 Suction Cup

#3 Mini Pry Bar
In the General Tools 25Pcs pry bar kit, for instance, the plastic pry bar is not conductive can be used in removing mainboards and ribbon wires, which suitable for many pry opening repair operation.
#4 Collection of Bits
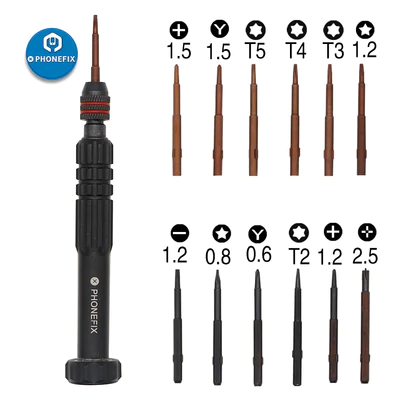
A good kit which includes a selection of bits is likely to have everything you need.
With a smart phone repair kit on your side, such as the Universal Mobile Phones Repair Kit with Screwdriver Set, you will be a step ahead of the game when it comes to completing an important smart phone repair job.
Next, Learn Most Common Cell Phone Repairs and Tools


Comments
Post a Comment