Steps in Using a Stereo Microscope
Diagram of Parts
The diagram below shows where each part is located on a typical stereo microscope:

Steps in Using a Stereo Microscope
- Set your microscope on a tabletop or other flat sturdy surface. Plug the microscope’s power cord into an outlet.
-
Switch on the Microscope light source(s). If you will be looking at a microscope slide or other transparent object, bottom lighting will work best.
There are usually two types of built in and built out LED light sources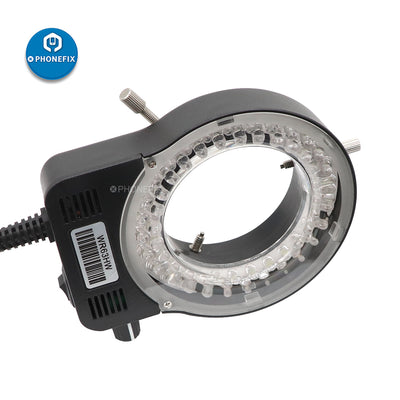
If the specimen you are viewing is opaque or solid (light cannot pass through it from below). Use top lighting so that the light can reflect off the specimen’s surface.
-
Center your specimen on the stage plate. If your
specimen is larger than the stage plate, you might need to turn the
stage clips out so that they are hanging off the stage giving you more
room to work.
If your specimen is thin and flat, or if its edges curl up easily, try using the stage clips to hold it in place.
To do this, pull up the pointed end of one stage clip and slide it over one end of the specimen, then do the same with the stage clip on the other side.
Adjust the eyepiece(s) so that you can look through the microscope comfortably without straining your eyes. (See below for instructions on adjusting a stereo head).
For light-colored translucent specimens such as salt crystals, use either the black side of the stage plate (if it is reversible) or a piece of dark-colored construction paper to provide contrast.
If your stereo microscope has a rotating objective turret, turn it so that the marking on the objective you want to use is facing the front of the microscope.
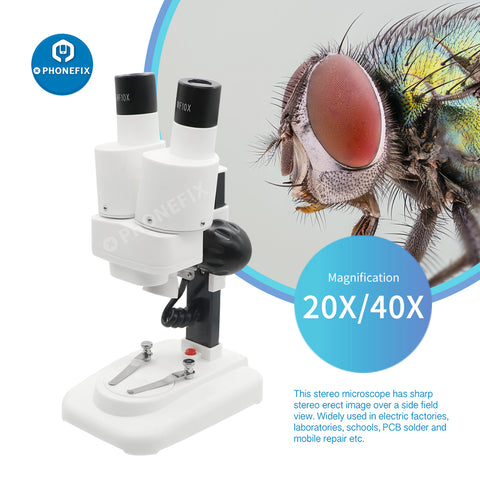
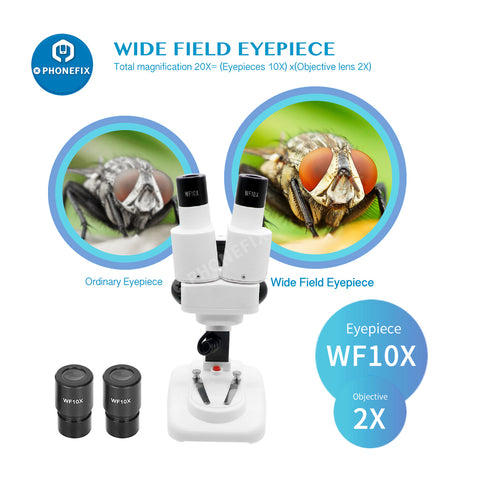
To determine the magnification of your microscope, multiply the magnification level of the eyepiece lens by that of the objective lens. For example, on the microscope in the diagram above, the total magnification at the 2X Objective Lens is 20x (2 x 10 = 20).
-
While looking through the eyepiece(s), slowly turn the focus knob until the specimen comes into view. Once you can see the outline of the specimen, turn even more slowly to focus as sharply as possible.
If you aren’t able to see anything, try moving the specimen around slightly on the stage plate to make sure it is directly below the objective lens and then try focusing again.
Once you have focused on the specimen, you can move it around to see its other parts. You may have to refocus slightly on each new area.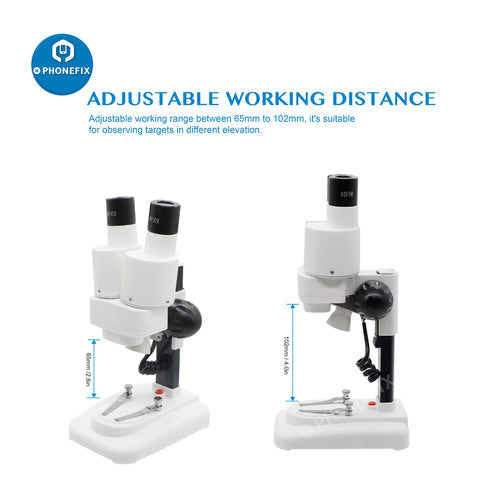
When you are finished using your microscope, turn off the switch, remove the specimen, unplug the power cord, and cover the microscope with its dust cover.
- Store your microscope in a place where it will not be damaged from extreme hot or cold temperatures, and out of the reach of small children.
Ideas for Using a Stereo Microscope
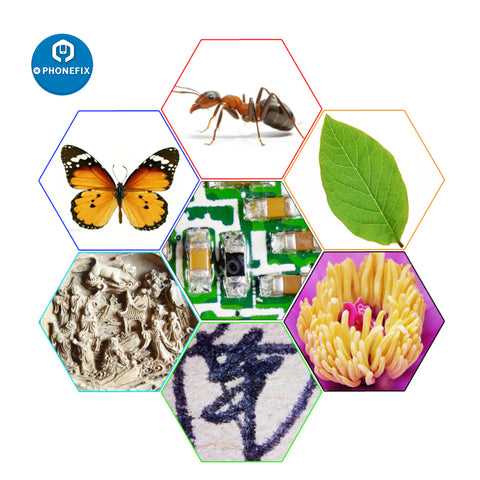

- Observe the habits of live insects.
- Study a shallow dish of pond water, daphnia, or brine shrimp.
- Examine a soil sample to see the different materials that comprise it.
- Make a simple prepared slide of sand, hair, thread, salt, or something else by sticking it to a piece of clear tape and viewing it specimen side up.
- Dissect a flower to learn about the beauty and intricacies of all its parts.
- Compare the types of minerals and crystals in different rock specimens.
 These stereo microscopes
are designed for viewing whole objects such as rocks, insects, and
flowers. But they can also be used for viewing prepared slides. They are
a helpful tool for nature studies and are ideal for young children.
These stereo microscopes
are designed for viewing whole objects such as rocks, insects, and
flowers. But they can also be used for viewing prepared slides. They are
a helpful tool for nature studies and are ideal for young children.There are two basic types of microscopes: stereo and compound. Stereo microscopes are very versatile and use lower power than compound microscopes. Typical magnification levels ranging from about 10 to 40x.

These microscopes are designed for viewing whole objects such as rocks, insects, and flowers. But they can also be used for viewing prepared slides. They are a helpful tool for nature studies and are ideal for young children.
.jpg)
Comments
Post a Comment