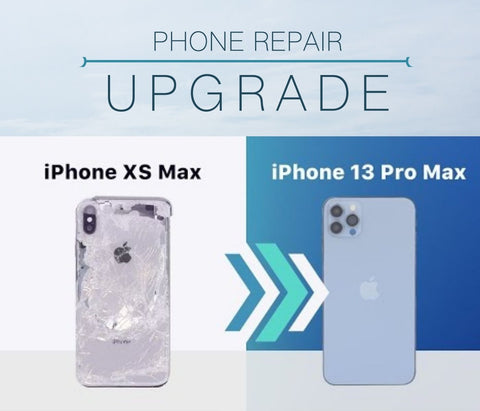
Cracked iPhone XS Max Repair and Upgrade into iPhone 13 Pro Max
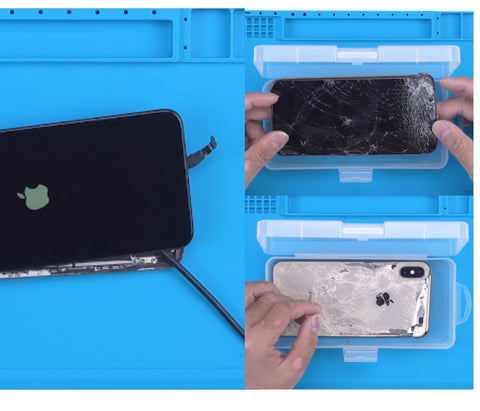
The motherboard is in good condition but touch screen is unresponsive after detaching the broken screen. Connect the motherboard with a new screen, and turns on the phone.
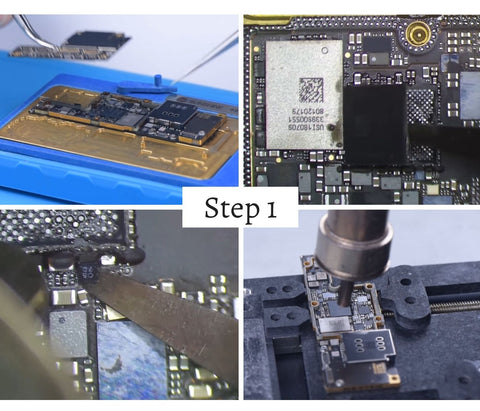
The signal board is deformed when remove the motherboard. To fix the problem requires replacing the signal board.
First of all, remove the baseband CPU, EPROM, and NFC chip on the signal board.
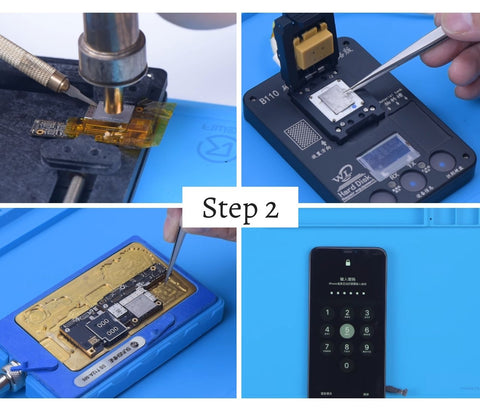
Step 2: WiFi Unbinding
Since the signal board is changed, we need to remove the NAND to unbind the WiFi. Attach the NAND to the
JC P11 NAND Programmer for WiFi unbinding. After unbinding, we solder the NAND back on.
Apply some solder paste to the bonding pads of the new signal board. Next, we use a heating platform to recombine the signal board with the logic board.
Step 3: Remove Dot Projector of the Front Camera
The dot projector of the front camera module is also damaged. Then we need to move the flex cables of the infrared camera and dot projector to a new front camera module.
Grind to remove the infrared camera. Install the infrared camera to a new front camera module and secure it.
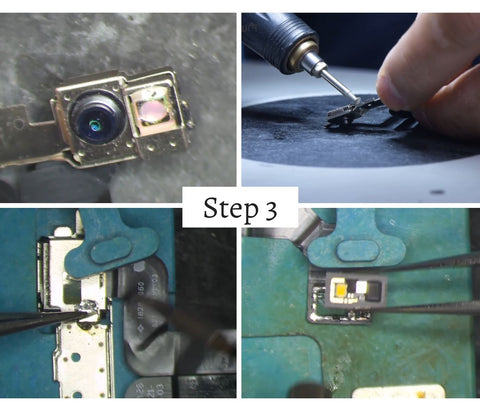
Remove the broken dot projector flex cable.
Step 4: Read Original Data to a New Dot Projector
Then remove the dot projector module and read its data. Write the data to a new flex cable. Before soldering the dot projector module, we need to remove the MOSFET and short pin 2 and 3.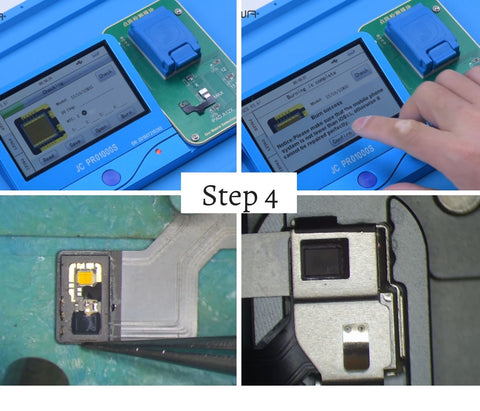
Next, we solder the dot projector module to a new flex cable. Put the new dot projector flex cable back to the front camera module.
Align the flex able and fix it with adhesive. After we have repaired the front camera module, the next step is to restore the True Tone of the screen.
Step 5: Restore the True Tone of the Screen.
Remove the earpiece flex cable from the broken screen and install it on a new screen. Read the screen data from the damaged screen and write the data to the new screen.
Read screen data from the damaged screen though JC V1S Programmer.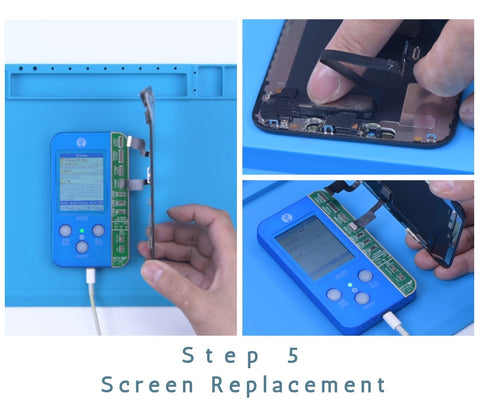
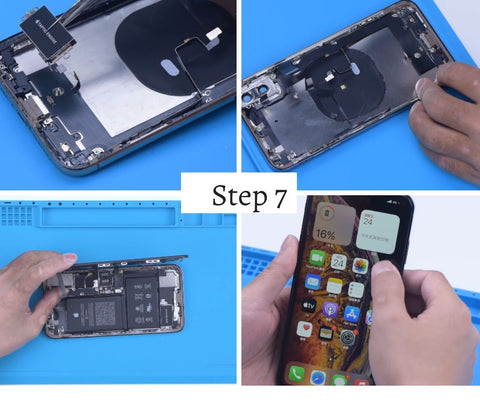
As the original back cover is severely damaged, we need to replace it with a specialized iPhone 13 Pro Max back cover.
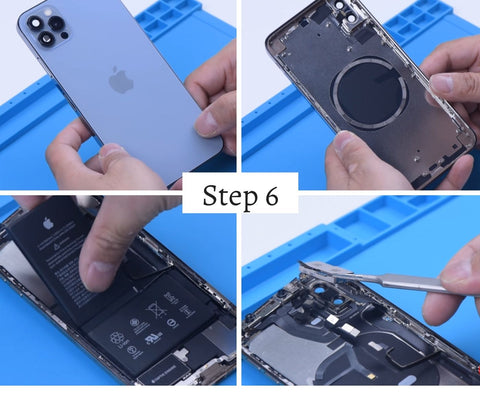
Move parts of the damaged back housing to the new back cover.
The iPhone XS Max has been successfully restored and all functions are normal.
.jpg)
Comments
Post a Comment