Upgrade iPhone XR to iPhone 12
In the article, we’re comparing these
devices to determine whether it’s time to upgrade if you’re already
rocking an iPhone XR.
When you encounter iPhone XR cracked screen
repair and iPhone XR back glass repair issues, have you considered upgrading
iPhone XR to iPhone 12 Series.
1. Compare iPhone XR with iPhone 12 series 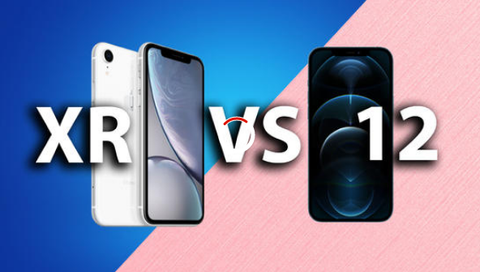
| iPhone 12 | iPhone XR | |
| Screen size | 6.1-inch OLED | 6.1-inch Retina IPS LCD |
| Processor | Apple A14 Bionic | Apple A12 Bionic |
| Storage space | 64GB, 128GB, 256GB | 64GB, 128GB |
| Battery |
TBC
18W fast charging |
2,942mAh
15W fast-charging |
| Apple A12 Bionic | $799 | $499 |
Compare with iPhone XR, iPhone 12 has following features:
1. OLED panel with Dolby Vision, 41% higher pixel density, higher peak brightness
2. 64% faster CPU, more RAM (3 GB to 4 GB)
3. 36% faster GPU
4. Ultra wide-angle camera
5. Better selfie camera (7 MP to 12 MP)
iPhone 12 series shared upgrades:
1. 5G connectivity (+mmWave in the US)
2. All 12-series phones use OLED display
3. Ceramic Shield with better drop resistance
4. Night mode for the selfie and ultra wide cameras
5. Dolby Vision videos (4K/60 fps on Pros, 4K/30 fps on vanilla)
6. LiDAR for the Pros
7. Faster MagSafe wireless charging
8. Improved water resistance
iPhone 12 battery has a great life and iPhone 12 has a faster processor.
According the sheet, you can replace the screen of iPhone XR with iPhone 12 Screen display.
About
the camera, the iPhone XR features a single rear 12-megapixel lens,
while the iPhone 12 camera has dual wide and ultrawide rear lenses, both
clocking in at 12MP each, giving it an immediate edge.
The iPhone
12 also supports Night Mode, which isn’t supported on the iPhone XR.
While the XR will still take good low light photos, it won’t be able to
match the iPhone 12’s software for low light performance.
How to upgrade iPhone XR to iPhone 12 Appearance
1. Assemble the iPhone XR
1. Unscrew the bottom screw. Open the screen. Disconnect the cable for the power supply and screen with screwdriver set.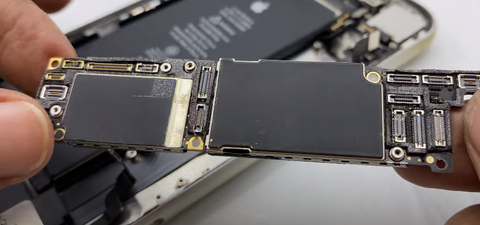
2. Remove the screws from the motherboard, the SIM card slot and motherboard.
3. Remove the bottom accessories. Heat and remove the battery adhesive. Remove the iPhone XR front camera and flex cable under the trinocular microscope.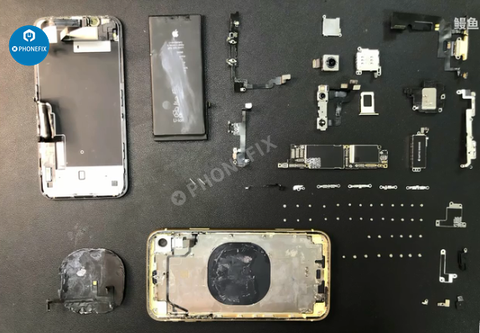
2. Port all accessories into 12 boxes
1. Get a iPhone 12 Sceen display and install the bottom flex cable in turn.
2. Front camera and vibrator/headset are installed back. Reinstall the SIM card slot and motherboard.
3. Glue the battery back to the motherboard. Reinstall all screws in turn.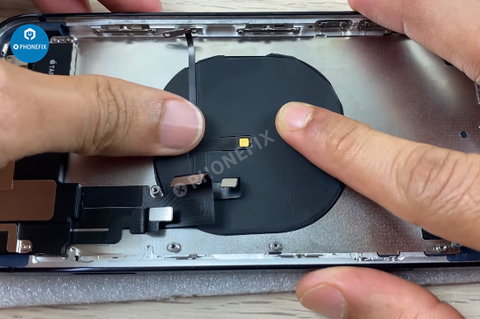
4. Use the JC V1S to copy the True Tone data.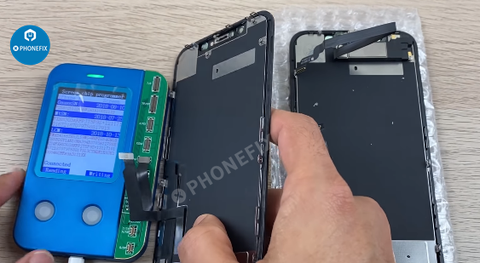
3. Test
1. Snap back screen boot test: True Tone is working fine.
2. Boot the iPhone: Face ID working fine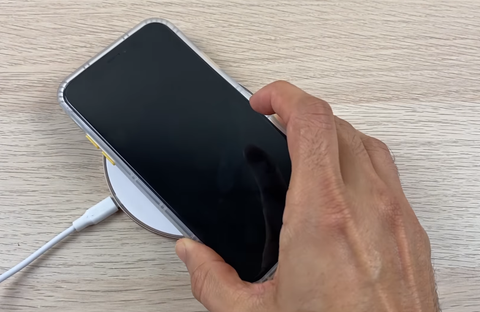
If you currently have an old iPhone XR and your iPhone XR has cracked screen, iPhone XR back glass or the cameras, updating it for an iPhone 12 series would be a great choice, and you can DIY it now if you're skilled at it .

.jpg)
Comments
Post a Comment