Erase the Non-Genuine Battery "Non-Genuine Battery Warning" on iPhone
For iPhone XS and above, when a third-party battery or a genuine
replacement battery is replaced by a third-party repair shop that isn't
one of Apple's authorized partners, the battery health menu will show a
warning about being ‘unable to verify this iPhone has a genuine iPhone
battery’
The original battery data is stored on the battery management system board, which is so-called BMS, it is connected with the iPhone battery flex cable.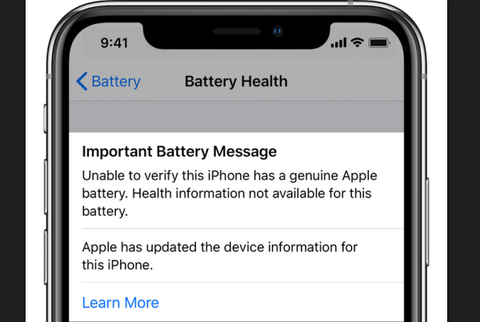
Solution
1: We need to replace the new battery BMS with the original one so that
we can erase the warning. Here we would like to demonstrate how to tear
down the battery to replace the BMS so that we can fix the non-genuine
battery issue.
Here we would like to show how to tear down the battery to
replace the BMS so that we can fix the non-genuine battery issue.
Step 1: Replace the battery (Take iPhone 11 as example)
1. Power off the phone, snap and remove the two screws on the bottom.
2. Use Suction Cup and plastic plectrum to slice and separate the display. 
3. Remove the metal panel. Disconnect the battery flex and the display flex cable, remove the display. 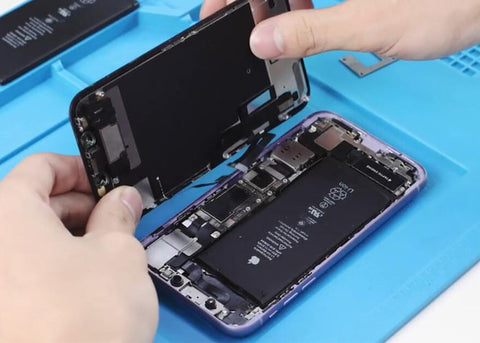
4. Tear off the battery adhesive tape and take down the battery.
Step 2: Solid the original BMS board to the new battery
1. Tear off the original battery bottom cover tape, separate and take out the BMS board.
2.
Remove the new battery BMS board as well, apply some solid flux on the
original BMS board and solid the board to the new battery.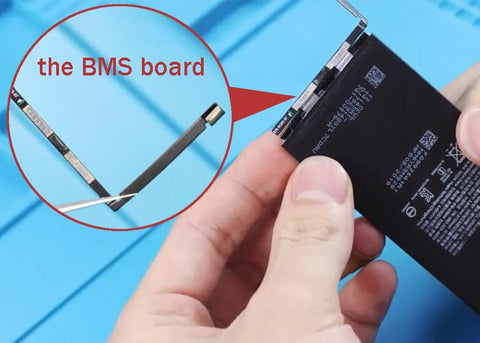
3. Paste the battery cover tape on the board, connect the battery to the machine and activate the iPhone 11 battery.
Step 3: Install the new Phone 11 battery and test
1. Place the new iPhone 11 battery back to the phone and connect the flex cable.
2. Connect the display flex cables to the iPhone.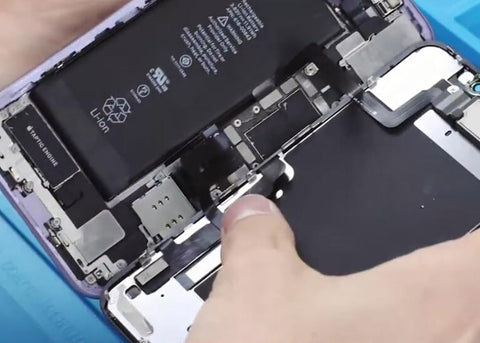
3. Turn on the iPhone, go to Settings, non-genuine battery warning disappear.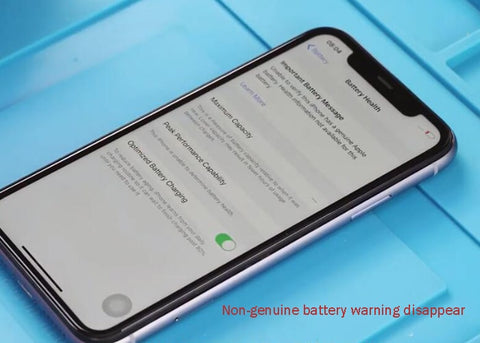
4. Turn off the phone, tighten the screws and fix the metal panel back.
5. Reassemble the display back, tighten the two screws on the bottom, and the whole process is completed.
Solution 2: Qianli battery data corrector,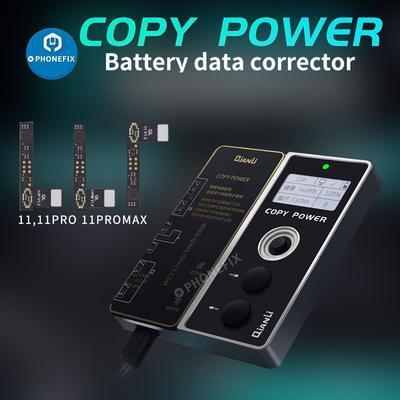
1. Turn off your phone and take the battery off. Cut the original machine battery protection board.
2. Welding the new battery to the battery protection board of the original machine with 3GOA Portable Spot Welder.
3.
Apply the Heat Resistant Polypeptide Gold Adhesive Tape for protecting
battery. Paste the protective adhesive, make sure the battery is
sufficient, and use other batteries to activate the popover of the phone
to reset the data.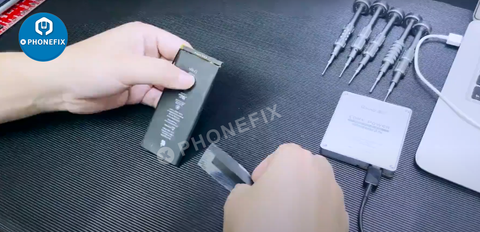
4. Connect the battery data corrector with the modified battery and calibrate the battery data.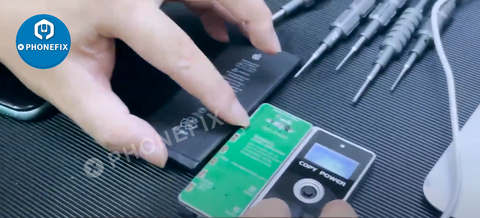
There
is no pop-up window display after startup, and the previous maintenance
status disappears. At this time, the battery health has been corrected
to 100%.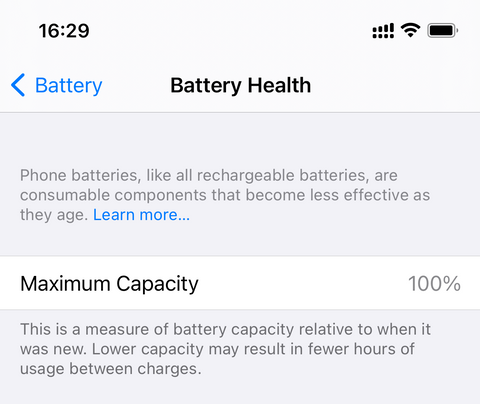


Comments
Post a Comment