A Ultimate solution to Replace iPhone 7/7Plus Home Button
iPhone
7/7Plus Touch ID chip is exclusively matched with the motherboard. If
change a new home button only, the Touch ID function disappears as the
unique chip is also changed.
If the iPhone 7 Home Button is unfortunately broken, How to fix iPhone Touch ID not working? Here is the solution!
Step 1: Open the iPhone Display
1. Power off your iPhone and remove the two screws on the bottom edge of the iPhone.
2. Heat the lower edge of the iPhone with YIHUA 8858 Hot Air Gun and soften the adhesive securing the display, making it easier to open.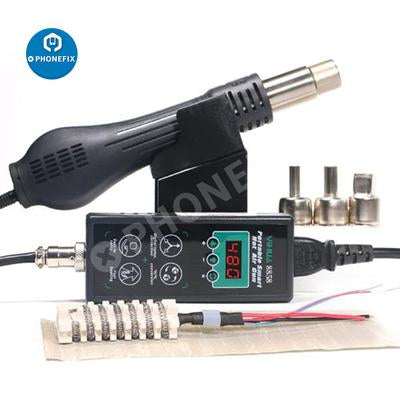
3.
Attach a suction cup to the lower half of the display assembly, and
pull up on it to create a small gap between the display assembly and the
rear case. Insert the flat end of a spudger into the gap.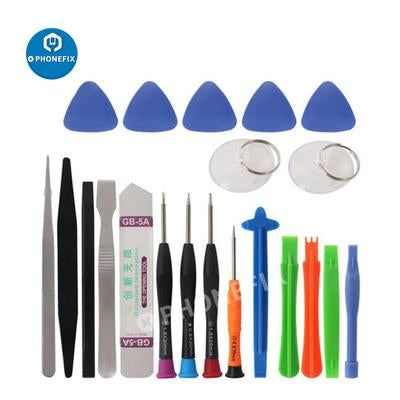
4.
Twist the spudger to widen the gap between the display and rear case.
Pull the display assembly slightly away from the top edge of the phone
to disengage the clips holding it to the rear case.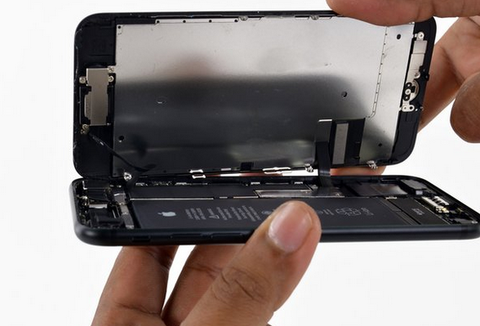
5. Open the iPhone by swinging the iPhone 7 Display. Pry up from the left side, like the back cover of a book.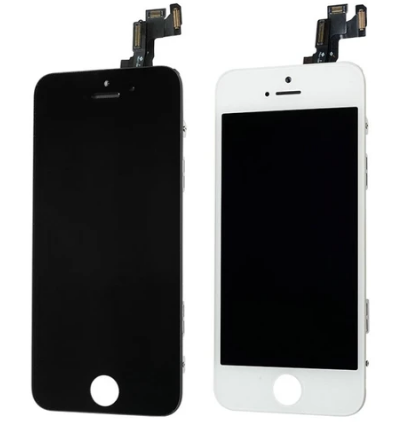
Step 2: Remove the iPhone dispaly
1.
Remove the lower connector bracket. Lift the battery connector out of
its socket on the logic board using the point of a spudger.
2. Bend the cable slightly upwards to prevent it from coming into contact with the socket to provide power to the phone.
3. Pry the two lower display connectors by straight up from their sockets on the logic board.
4. Remove the two iPhone 7 screws securing the bracket over the front panel sensor assembly connector.
5. Disconnect the front panel sensor assembly connector.
6. Remove the display assembly and screws securing the bracket over the home/Touch ID sensor.
Step 3: Remove Home/Touch ID Sensor
1. Remove the bracket that secures the home/Touch ID sensor.
2. Pry under the left edge of the home button cable connector to disconnect it from its socket.
3. Carefully pry up the underlying connector and move it out of the way of the home/Touch ID cable.
Heating
the area around the home/Touch ID sensor will help soften the adhesive
holding its delicate cable in place, making it easier to remove safely.
4. Separate the adhesive holding the home/Touch ID sensor cable to the back side of the display panel.
5. Lifting the home/Touch ID sensor assembly through the front side of the display.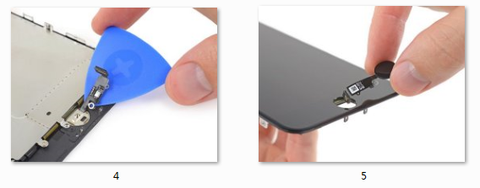
Step 4: Install and test the new home button
1. Feed the home button flex cable through the hole in the front of the display and fix it with screws.
2. Reinstall your iphone 7 battery and display.
3. Turn on your iPhone and test Home Button. The home button can be used normally.
.jpg)
Comments
Post a Comment